How Can I Access My Raspberry Pi Anywhere? Your Ultimate Guide
Listen up, tech enthusiasts! If you've ever wondered how you can access your Raspberry Pi anywhere, you're in the right place. This is the ultimate guide packed with actionable tips, practical solutions, and expert advice to help you take control of your Raspberry Pi from anywhere in the world. Whether you're a hobbyist, a developer, or just someone who loves tinkering with gadgets, this article will give you the tools you need to make it happen. So, buckle up and let’s dive in!
Let’s face it—our lives are getting more connected every day. From smart homes to remote work setups, having the ability to access your devices from afar has become a necessity. The Raspberry Pi, that tiny powerhouse of a computer, is no exception. But here’s the deal: accessing it remotely isn’t as straightforward as you might think. That’s why we’re breaking it down step by step, so you can get the most out of your Pi, no matter where you are.
This article isn’t just another tech jargon-filled post. We’re keeping things simple, approachable, and most importantly, actionable. By the time you finish reading, you’ll have everything you need to set up secure, reliable remote access to your Raspberry Pi. Ready? Let’s go!
- Discovering Leland Chapman The Life Of A Bounty Hunter And Reality Star
- Unveiling The Multifaceted World Of Cardi B
Why Access Your Raspberry Pi Remotely?
First things first—why would you even want to access your Raspberry Pi remotely? Well, imagine this: you’ve set up a cool home automation system using your Raspberry Pi, but you’re on vacation in Bali. Wouldn’t it be awesome if you could still check your security cameras or adjust your thermostat? Or maybe you’re a developer who uses your Pi as a server for testing apps, and you need to troubleshoot an issue while you’re at the office. These scenarios (and many more) highlight why remote access is such a game-changer.
Here’s a quick rundown of why remote access is worth your time:
- Stay connected to your home network even when you're miles away.
- Monitor and manage IoT devices without being physically present.
- Access files, applications, and services hosted on your Raspberry Pi.
- Troubleshoot issues or make updates on the go.
Now that you know why remote access is important, let’s dive into the nitty-gritty of how to make it happen.
- Unveiling The Life And Career Of Lauren Compton
- Discovering Portia De Rossi A Journey Through Talent And Resilience
What You Need to Get Started
Before we jump into the setup process, it’s essential to have the right tools and configurations in place. Here’s what you’ll need:
- A Raspberry Pi (any model will do).
- An active internet connection for both your Raspberry Pi and your remote device.
- A static IP address or a dynamic DNS (DDNS) service to ensure your Pi is reachable from the outside world.
- A secure SSH (Secure Shell) connection to access your Pi remotely.
- Basic knowledge of Linux commands and networking concepts.
Don’t worry if some of these terms sound unfamiliar—we’ll break them down later. For now, just make sure your Raspberry Pi is up and running, and you’re good to go!
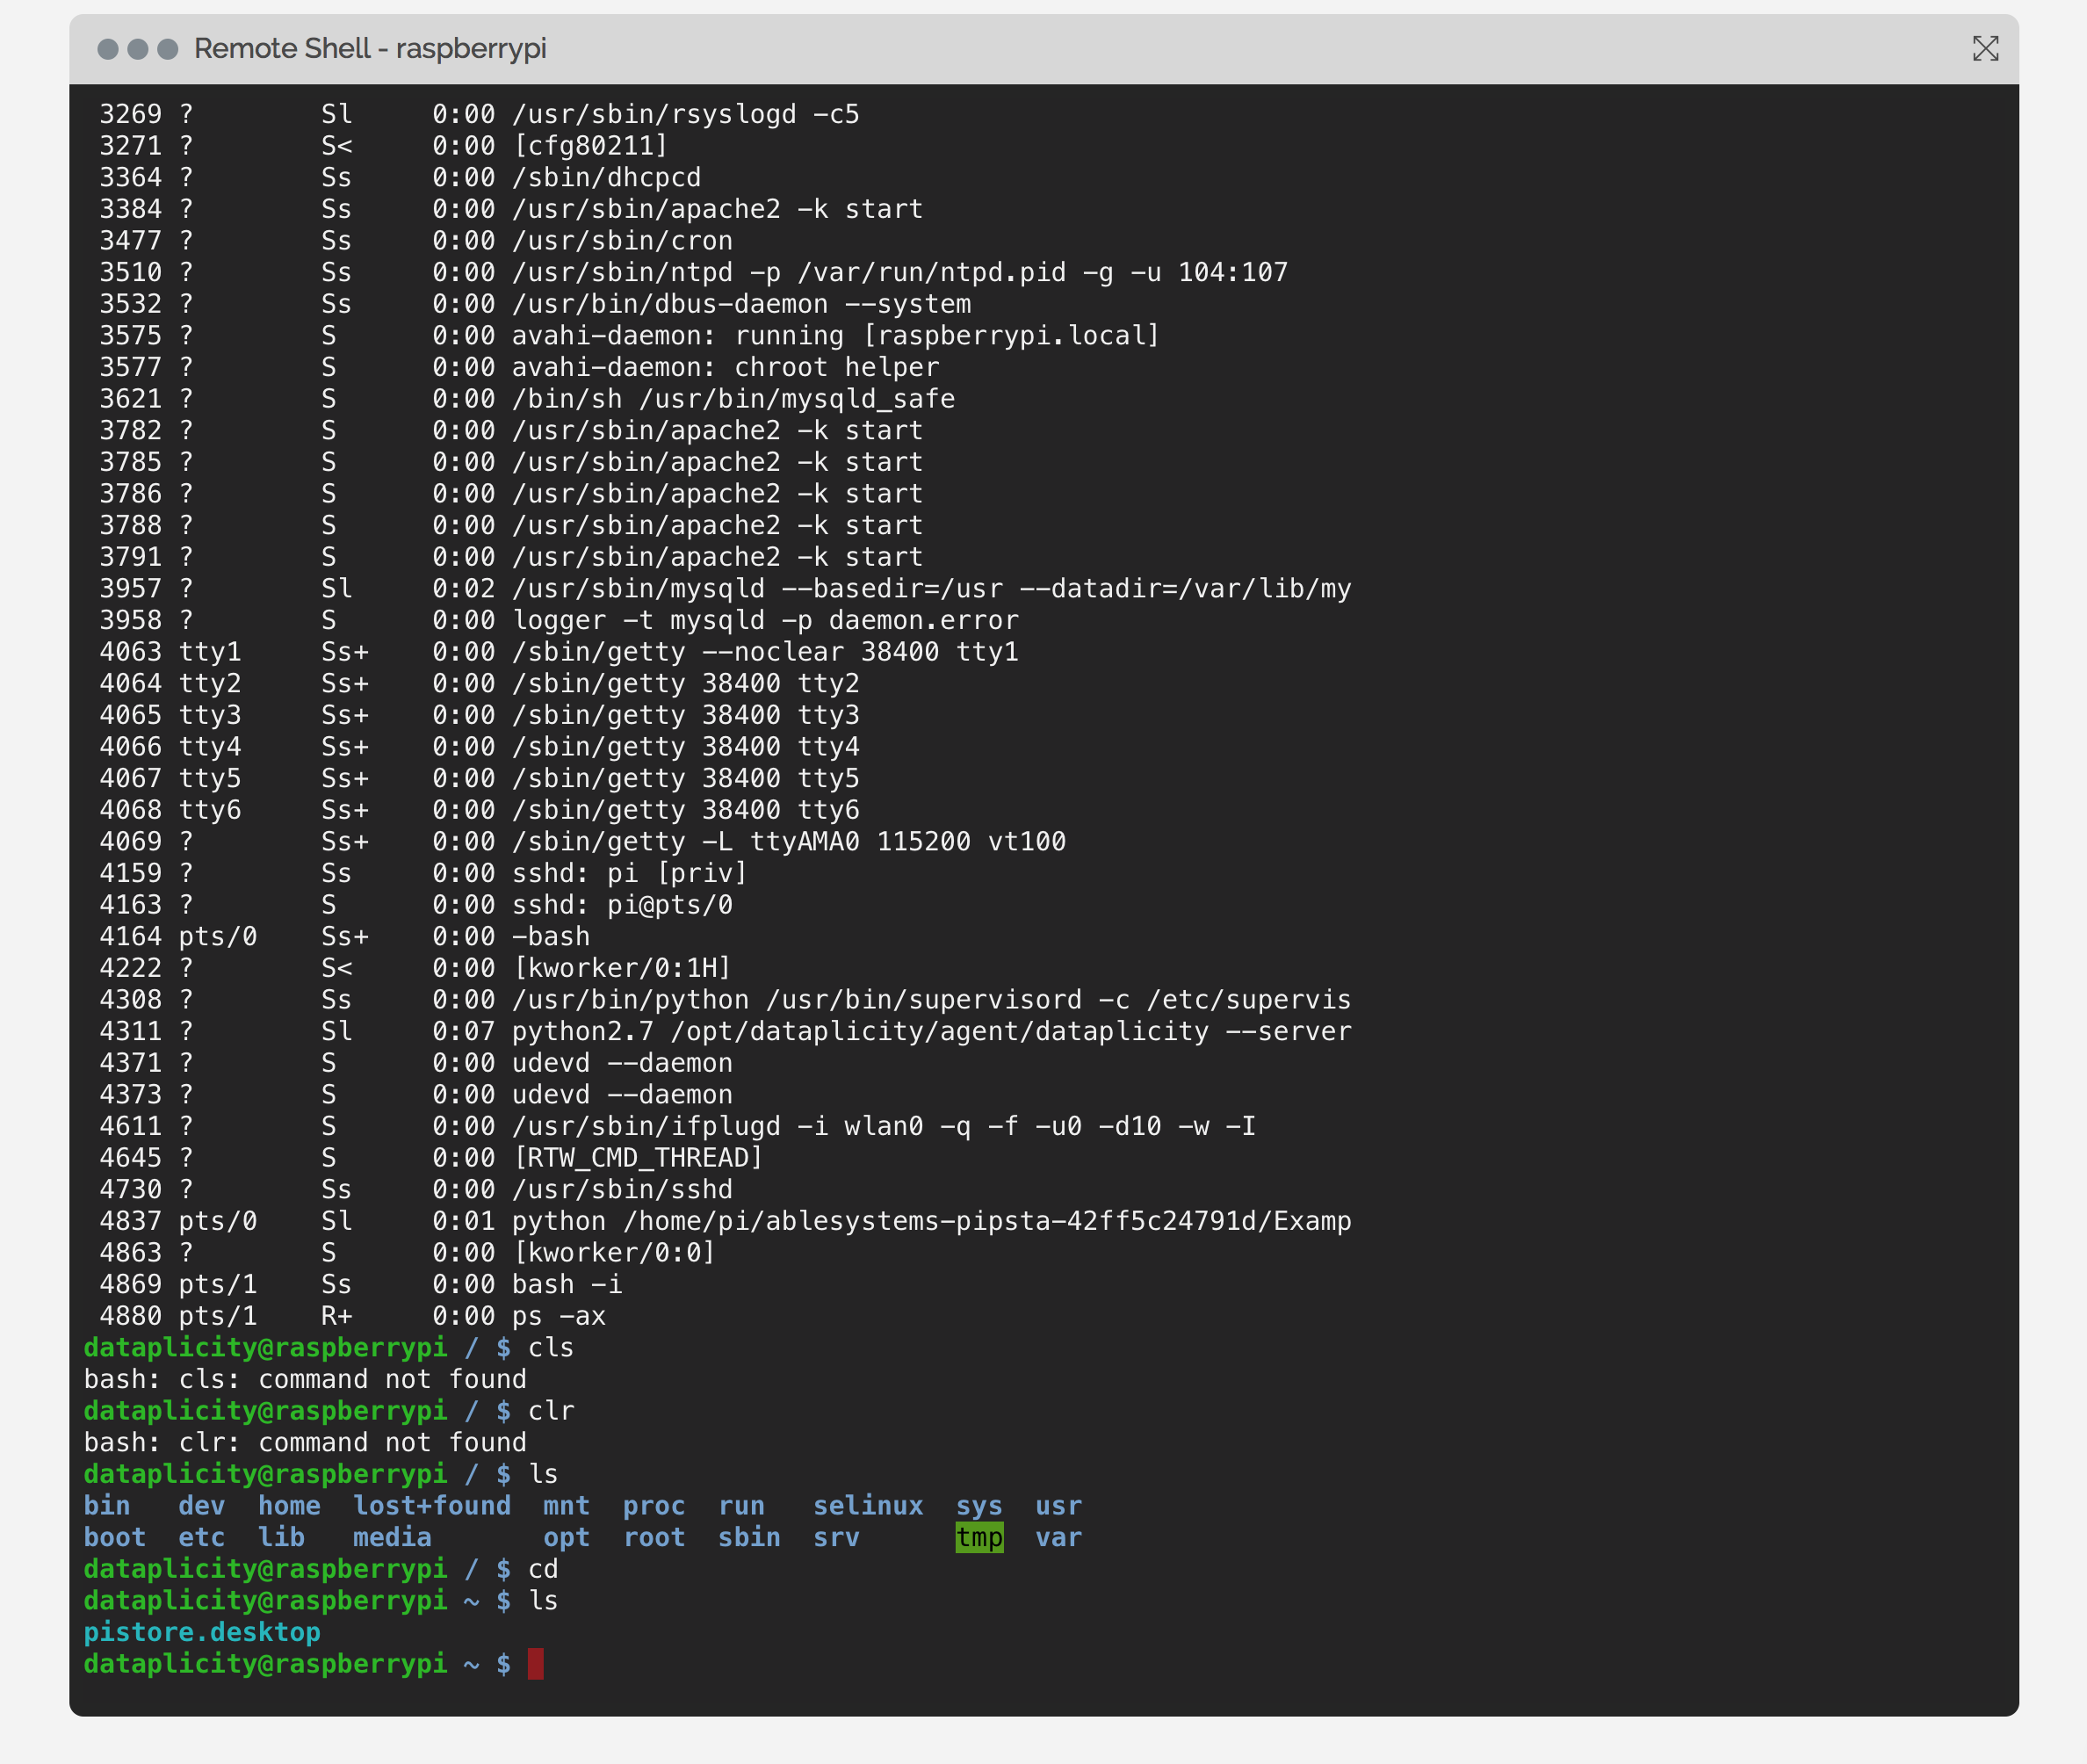
Setting Up SSH on Your Raspberry Pi
SSH, or Secure Shell, is the backbone of remote access. It allows you to connect to your Raspberry Pi securely from anywhere. Here’s how you can set it up:
Step 1: Enable SSH on Your Raspberry Pi
To enable SSH, you’ll need to use the Raspberry Pi Configuration tool. Open a terminal on your Pi and type:
sudo raspi-config
From there, navigate to “Interfacing Options,” select “SSH,” and enable it. Simple as that!
Step 2: Find Your Pi’s IP Address
Your Raspberry Pi needs a unique IP address so that other devices can locate it on the network. To find it, type:
hostname -I
This will display your Pi’s local IP address. Write it down—you’ll need it later.
Step 3: Test Your SSH Connection
Now that SSH is enabled, try connecting to your Pi from another device on the same network. Use a terminal or an SSH client like PuTTY and type:
ssh pi@your_pi_ip_address
Replace “your_pi_ip_address” with the actual IP address you found earlier. Enter your password when prompted, and voilà—you’re connected!
Assigning a Static IP Address
Having a static IP address ensures that your Raspberry Pi always has the same address on your local network. This makes it easier to connect remotely. Here’s how to set it up:
Method 1: Using the Command Line
Open a terminal and edit the dhcpcd configuration file:
sudo nano /etc/dhcpcd.conf
Add the following lines at the end of the file:
interface eth0static ip_address=192.168.1.100static routers=192.168.1.1static domain_name_servers=192.168.1.1
Replace the IP address, router, and DNS values with those specific to your network. Save the file and reboot your Pi to apply the changes.
Method 2: Using the GUI
If you’re using the Raspberry Pi desktop environment, you can set a static IP through the Network Settings menu. Just select your network interface, click “Edit Connections,” and configure the IP settings manually.
Using Dynamic DNS for Remote Access
What happens if your internet service provider assigns a dynamic IP address to your home network? That’s where Dynamic DNS (DDNS) comes in. DDNS services map your changing IP address to a static domain name, making it easier to connect to your Pi from anywhere.
Popular DDNS Providers
Here are some reliable DDNS services you can use:
- No-IP
- DuckDNS
- FreeDNS
Most of these services offer free plans, so you don’t have to break the bank to get started. Just sign up, create a domain name, and configure your router to update the DDNS service whenever your IP address changes.
Securing Your Remote Connection
Security is paramount when it comes to remote access. The last thing you want is for someone to hack into your Raspberry Pi. Here are some tips to keep your connection safe:
1. Change the Default SSH Port
By default, SSH runs on port 22. Changing it to a non-standard port reduces the risk of automated attacks. To do this, edit the SSH configuration file:
sudo nano /etc/ssh/sshd_config
Find the line that says “Port 22” and change it to a different number, like 2222. Restart the SSH service for the changes to take effect:
sudo service ssh restart
2. Use Key-Based Authentication
Instead of relying on passwords, use SSH keys for authentication. This adds an extra layer of security. To generate a key pair, type:
ssh-keygen -t rsa
Then, copy your public key to your Raspberry Pi:
ssh-copy-id pi@your_pi_ip_address
From now on, you’ll log in using your private key instead of a password.
3. Enable a Firewall
A firewall helps block unauthorized access to your Raspberry Pi. Use the UFW (Uncomplicated Firewall) tool to set it up:
sudo apt install ufwsudo ufw allow 2222sudo ufw enable
This allows traffic only on the specified SSH port while blocking everything else.
Connecting to Your Raspberry Pi from Anywhere
With SSH enabled, a static IP address configured, and DDNS in place, you’re ready to connect to your Raspberry Pi from anywhere. Here’s how:
Step 1: Install an SSH Client
If you’re using a Windows or macOS device, download an SSH client like PuTTY or Terminal. On Android or iOS, you can use apps like JuiceSSH or Termius.
Step 2: Enter Your DDNS Domain
Instead of typing your Pi’s IP address, use the DDNS domain name you set up earlier. For example:
ssh pi@yourdomain.duckdns.org
Step 3: Enter Your Credentials
Log in using your Raspberry Pi’s username (usually “pi”) and password or SSH key. Congratulations—you’re now connected to your Pi remotely!
Troubleshooting Common Issues
Even with the best-laid plans, things can go wrong. Here are some common issues you might encounter and how to fix them:
Problem 1: Unable to Connect via SSH
Solution: Double-check that SSH is enabled on your Raspberry Pi and that your firewall allows traffic on the SSH port. Also, ensure your DDNS service is correctly configured.
Problem 2: Slow Connection Speeds
Solution: Optimize your network settings and consider using a faster internet connection. If you’re using a Wi-Fi connection for your Pi, try switching to Ethernet for better stability.
Problem 3: Security Concerns
Solution: Follow the security tips mentioned earlier, such as changing the SSH port, using key-based authentication, and enabling a firewall. Regularly update your Raspberry Pi’s software to patch any vulnerabilities.
Advanced Tips for Power Users
Once you’ve mastered the basics, it’s time to take your remote access skills to the next level. Here are a few advanced tips:
Tip 1: Set Up a VPN
A Virtual Private Network (VPN) creates a secure tunnel between your device and your Raspberry Pi. This adds an extra layer of encryption and privacy. Popular options include OpenVPN and WireGuard.
Tip 2: Automate Tasks with Cron Jobs
Cron jobs allow you to schedule tasks on your Raspberry Pi, such as running backups or updating software. Use the crontab command to configure them:
crontab -e
Tip 3: Monitor Your Pi Remotely
Tools like Grafana and Prometheus let you monitor your Raspberry Pi’s performance in real-time. This is especially useful if you’re using it as a server or for IoT projects.
Conclusion
So there you have it—everything you need to know about accessing your Raspberry Pi from anywhere. From setting up SSH and DDNS to securing your connection and troubleshooting common issues, this guide covers all the bases. Remember, the key to successful remote access is preparation and security.
Now it’s your turn! Try out these steps and see how they work for you. And don’t forget to leave a comment below sharing your experience or asking any questions you might have. Who knows? You might just inspire someone else to dive into the world of Raspberry Pi remote access. Happy tinkering!
Table of Contents
Why Access Your Raspberry Pi Remotely?
What You Need to Get Started
Setting Up SSH on Your Raspberry Pi
Assigning a Static IP Address
Using Dynamic DNS for Remote Access
Securing Your Remote Connection
Connecting to Your Raspberry Pi from Anywhere
Troubleshooting Common Issues
Advanced Tips for Power Users
Conclusion
- Exploring The Artistic Journey Of Claire Rushbrook
- Discovering Leland Chapman The Life Of A Bounty Hunter And Reality Star

Raspberry Pi Connect Beta Access your Raspberry Pi from anywhere
Access Your Raspberry Pi From Anywhere Raspberry

Raspberry Pi WiFi Access Point Raspberry_Pi PiDay RaspberryPi
