How To Find Raspberry Pi VNC Port Free: The Ultimate Guide
Ever wondered how to find Raspberry Pi VNC port free without breaking a sweat? You're not alone! Many tech enthusiasts, hobbyists, and even professionals struggle with this common issue. Whether you're setting up a home automation system, running a media center, or just experimenting with your Raspberry Pi, having access to VNC (Virtual Network Computing) is crucial. But where do you start? Let’s dive in and uncover the secrets!
Imagine this: you’ve got your Raspberry Pi all set up, ready to go, but now you need to connect to it remotely. That’s where VNC comes in! VNC allows you to control your Pi from another device, making it super convenient for managing your projects on the go. However, finding the right port and ensuring it’s free can sometimes feel like solving a puzzle. Don’t worry, we’ve got you covered!
In this article, we’ll walk you through everything you need to know about finding Raspberry Pi VNC port free. From understanding the basics of VNC to troubleshooting common issues, we’ll make sure you’re equipped with the knowledge to get the job done. So grab a cup of coffee, sit back, and let’s explore the world of VNC on Raspberry Pi!
- Beth Behrs The Multifaceted Star Shining Bright In Hollywood
- Chasing Glory The Excitement Of The Mls Playoff
What is VNC and Why Should You Care?
VNC, or Virtual Network Computing, is basically a system that lets you control one computer from another. Think of it as a remote control for your Raspberry Pi. It’s super useful if you want to manage your Pi without being physically near it. You can use VNC to access the graphical interface of your Pi from any device, whether it’s a laptop, desktop, or even your phone.
Here’s why VNC matters:
- It allows remote access to your Raspberry Pi.
- You can control your Pi’s desktop environment just like you’re sitting in front of it.
- It’s great for managing headless setups (where your Pi doesn’t have a monitor or keyboard).
- VNC is cross-platform, meaning you can connect from Windows, macOS, Linux, or even Android/iOS.
But here’s the catch: for VNC to work properly, you need to make sure the port it uses is free and not blocked by other services. That’s where things can get tricky!
- Unveiling The Legacy Of John Hanson The Forgotten Founding Father
- Unveiling The Life And Career Of Lauren Compton
Understanding Ports in VNC
Ports are like doorways for data to travel between devices. In the world of networking, each service running on a computer uses a specific port to communicate. For VNC, the default port is usually 5900. However, depending on your setup, this port might already be in use by another application.
Here’s a quick breakdown:
- Default VNC Port: 5900
- Alternative Ports: 5901, 5902, etc.
- Custom Ports: You can configure VNC to use any port you want, as long as it’s not already in use.
Now, the big question: how do you find a free port for VNC on your Raspberry Pi? Let’s dig deeper!
How to Check if Raspberry Pi VNC Port is Free
Checking if a port is free is easier than you think. Here’s a step-by-step guide:
Step 1: Open the Terminal
The terminal is your best friend when it comes to troubleshooting Raspberry Pi issues. To open it, simply click on the terminal icon on your Pi’s desktop or press Ctrl + Alt + T.
Step 2: Use the ‘netstat’ Command
Once you’re in the terminal, type the following command:
sudo netstat -tuln
This will show you a list of all active ports on your Raspberry Pi. Look for port 5900 (or any other port you suspect VNC might be using). If you don’t see it listed, that means the port is free!
Step 3: Double-Check with ‘lsof’
For extra assurance, you can use the lsof command:
sudo lsof -i :5900
If the port is in use, this command will show you which process is using it. If nothing shows up, congrats—you’ve got a free port!
Configuring VNC on Raspberry Pi
Now that you know how to check for free ports, it’s time to configure VNC on your Raspberry Pi. Here’s how:
Step 1: Install VNC Server
If you haven’t already installed VNC Server, you can do so by running:
sudo apt update && sudo apt install realvnc-vnc-server realvnc-vnc-viewer
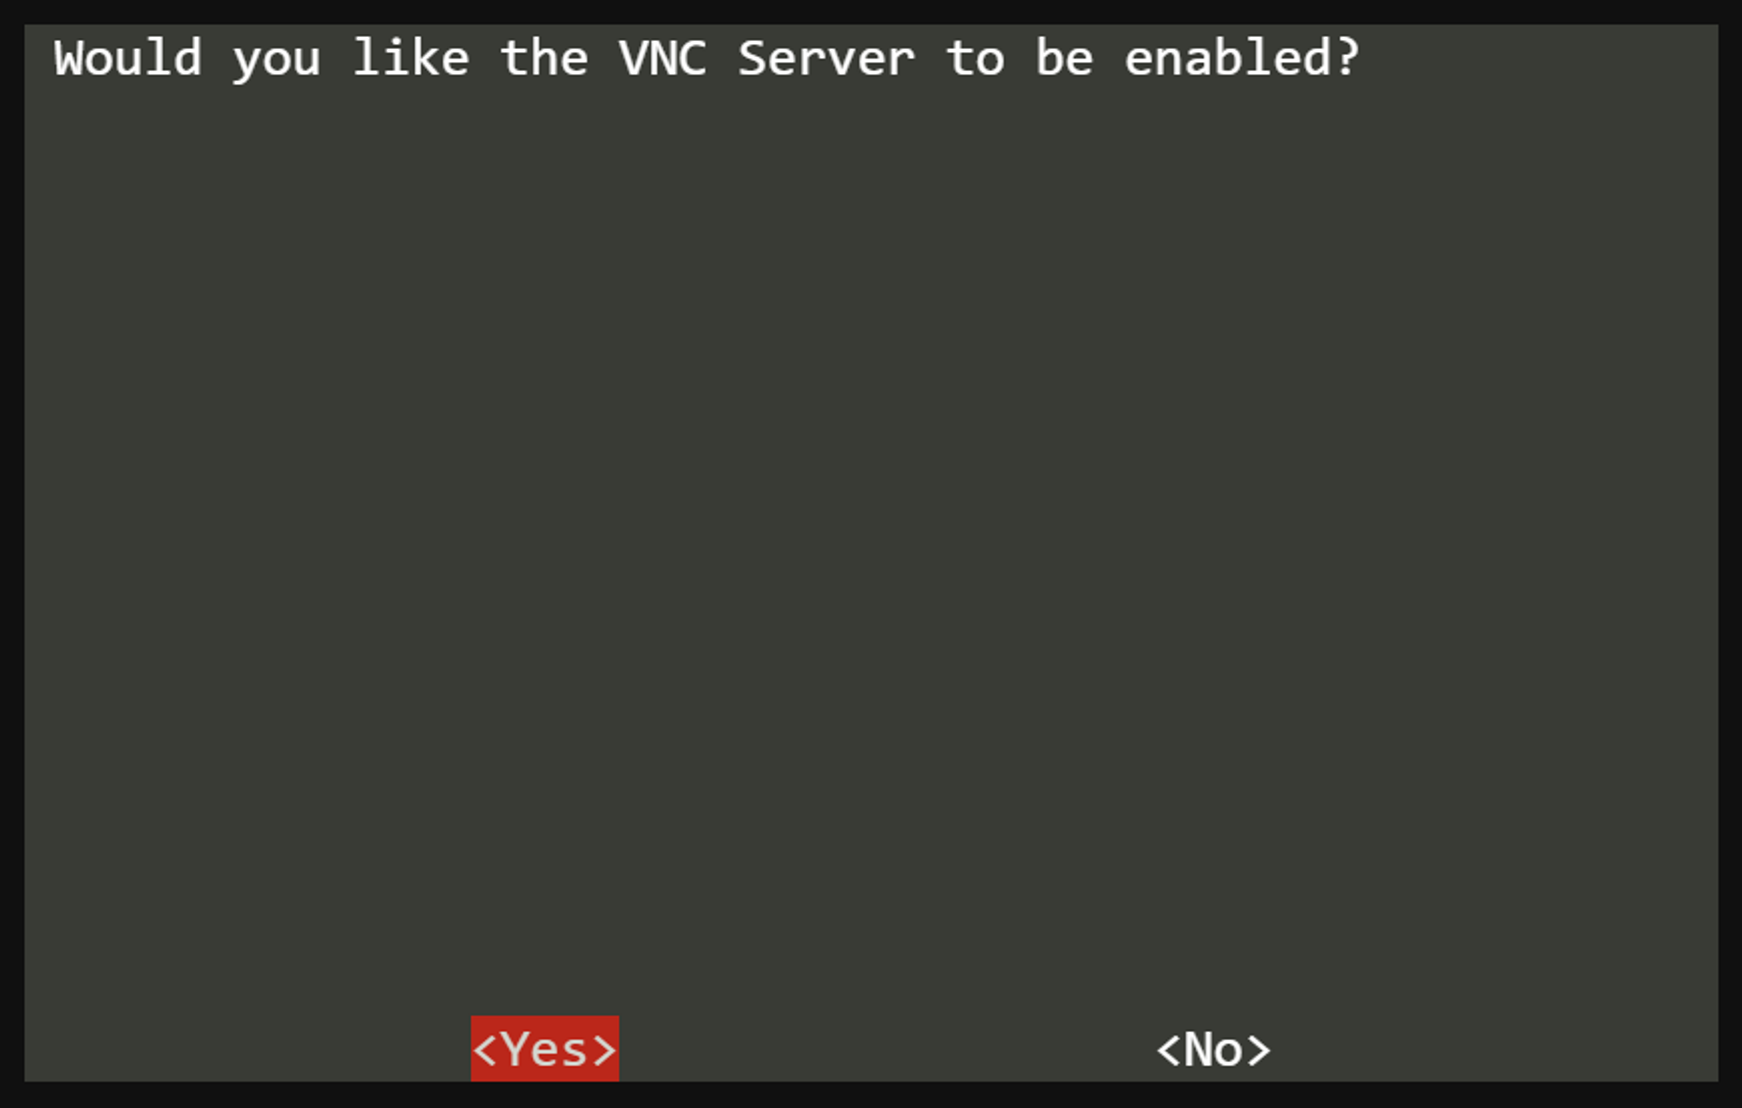
Step 2: Enable VNC
To enable VNC, go to the Raspberry Pi Configuration tool:
sudo raspi-config
Select Interfacing Options, then VNC, and enable it.
Step 3: Set a Custom Port (Optional)
If you want to use a custom port, you can edit the VNC configuration file:
sudo nano /etc/vnc/config.d/common
Add the following line, replacing 5901 with your desired port:
port=5901
Save and exit, then restart the VNC service:
sudo systemctl restart vncserver-x11-serviced
Common Issues and Troubleshooting
Even with the best-laid plans, things can sometimes go wrong. Here are some common issues you might encounter and how to fix them:
Issue 1: Port Already in Use
Solution: Use the steps above to find a free port and configure VNC to use it.
Issue 2: Unable to Connect
Solution: Make sure your firewall isn’t blocking the VNC port. You can temporarily disable the firewall to test:
sudo ufw disable
Issue 3: Slow Connection
Solution: Try adjusting the VNC quality settings. Lowering the resolution or disabling compression can help improve performance.
Advanced Tips for VNC on Raspberry Pi
Once you’ve got the basics down, here are a few advanced tips to take your VNC setup to the next level:
Tip 1: Secure Your VNC Connection
By default, VNC connections are not encrypted. To secure your connection, consider using SSH tunneling:
ssh -L 5900:localhost:5900 pi@your_raspberry_pi_ip
Tip 2: Automate VNC Startup
Want VNC to start automatically when your Pi boots up? Edit the /etc/rc.local file:
sudo nano /etc/rc.local
Add the following line before the exit 0 line:
vncserver :1
Tip 3: Use VNC Viewer on Mobile
Downloading the official VNC Viewer app for Android or iOS lets you control your Pi from your phone or tablet. Just enter your Pi’s IP address and the VNC port, and you’re good to go!
Why Finding Raspberry Pi VNC Port Free Matters
Having a free VNC port might seem like a small detail, but it can make a big difference in your Raspberry Pi setup. A blocked port can prevent VNC from working properly, leaving you stuck without remote access. By ensuring your VNC port is free, you’re setting yourself up for a smooth and hassle-free experience.
Plus, understanding how ports work gives you a deeper insight into networking, which is a valuable skill for any tech enthusiast!
Conclusion and Next Steps
So there you have it—everything you need to know about finding Raspberry Pi VNC port free. From understanding the basics of VNC to troubleshooting common issues, we’ve covered it all. Remember, the key to a successful VNC setup is making sure your port is free and properly configured.
Now it’s your turn! Take what you’ve learned and apply it to your own Raspberry Pi project. And don’t forget to share your experience in the comments below. Whether you’ve got questions, tips, or just want to say hi, we’d love to hear from you!
Happy hacking!
Table of Contents
- How to Find Raspberry Pi VNC Port Free: The Ultimate Guide
- What is VNC and Why Should You Care?
- Understanding Ports in VNC
- How to Check if Raspberry Pi VNC Port is Free
- Configuring VNC on Raspberry Pi
- Common Issues and Troubleshooting
- Advanced Tips for VNC on Raspberry Pi
- Why Finding Raspberry Pi VNC Port Free Matters
- Conclusion and Next Steps
- Table of Contents
- Unraveling The Musical Journey Of Gavin Degraw
- Unraveling The Life Of Anthony Kiedis A Journey Through Music And Personal Struggles

VNC Remote access a Raspberry Pi — Raspberry Pi Official Magazine

Remote control your Raspberry Pi from your PC with VNC! Howto
Take Control Remotely with Raspberry Pi VNC
