Raspi Remote: Your Ultimate Guide To Turning Your Raspberry Pi Into A Smart Remote Control
Imagine having the power to control your entire home with just a tiny device like a Raspberry Pi. Sounds futuristic, right? Well, it’s not science fiction anymore! Raspi remote is here to revolutionize how you interact with your smart devices, appliances, and entertainment systems. Whether you’re a tech enthusiast or someone looking to upgrade their home automation setup, this article will take you through everything you need to know about setting up and using a Raspberry Pi as a remote control.
With the rise of IoT (Internet of Things) devices, controlling your home has never been easier. But why stop at just one device when you can unify them all under a single, affordable solution? That’s where the Raspberry Pi comes in. This tiny yet powerful computer can be transformed into a versatile remote control that interacts with infrared (IR), Bluetooth, Wi-Fi, and even custom-built systems.
In this guide, we’ll dive deep into the world of raspi remote, exploring how it works, the tools you’ll need, and the endless possibilities it offers. So, if you’re ready to unlock the full potential of your Raspberry Pi and turn it into the ultimate remote control, buckle up and let’s get started!
Table of Contents:
- What is Raspi Remote?
- Raspberry Pi Basics
- Setting Up Your Raspi Remote
- Hardware You Need
- Software Options
- Connecting to Devices
- Advanced Features
- Common Issues and Troubleshooting
- Raspi Remote Projects to Try
- Conclusion
What is Raspi Remote?
Let’s start with the basics. A raspi remote is essentially a Raspberry Pi configured to act as a remote control. It can communicate with various devices using different protocols like IR, Bluetooth, and Wi-Fi. Think of it as your personal assistant that can turn on your TV, adjust the thermostat, or even control your smart lights – all from a single device.
Here’s the best part: you don’t need to spend a fortune on expensive gadgets. With a Raspberry Pi, some basic hardware, and a bit of coding knowledge, you can create a remote control that’s tailored to your specific needs. Whether you want to automate your living room or build a custom entertainment system, raspi remote has got you covered.
Why Use a Raspberry Pi as a Remote?
There are plenty of reasons why the Raspberry Pi is the perfect candidate for a remote control:
- Cost-effective: Raspberry Pi boards are affordable, making it an attractive option for DIY enthusiasts.
- Versatile: You can use it for a wide range of applications, from controlling smart home devices to automating complex systems.
- Customizable: With its open-source nature, you can tweak and modify the setup to suit your preferences.
- Community support: The Raspberry Pi community is massive, meaning you’ll find tons of resources and tutorials to help you along the way.
Raspberry Pi Basics
Before we dive deeper into the world of raspi remote, let’s quickly go over the basics of Raspberry Pi. If you’re already familiar with it, feel free to skip ahead.
A Raspberry Pi is a single-board computer that’s compact, affordable, and incredibly versatile. It’s been a favorite among hobbyists, educators, and developers since its launch in 2012. The latest models come equipped with powerful processors, multiple USB ports, HDMI output, and even Wi-Fi and Bluetooth capabilities.
For our purposes, the Raspberry Pi 4 or 3B+ models are ideal due to their performance and connectivity options. However, older models like the Pi Zero can also work for simpler projects.
Key Features of Raspberry Pi
Here’s a quick rundown of what makes Raspberry Pi so special:
- Compact size: It fits in the palm of your hand, making it perfect for portable projects.
- Open-source software: You can run a variety of operating systems, including Raspbian, Ubuntu, and even custom-built ones.
- GPIO pins: These general-purpose input/output pins allow you to connect external sensors, actuators, and other hardware components.
- Community-driven: A vast ecosystem of projects, tutorials, and forums ensures you’re never alone in your journey.
Setting Up Your Raspi Remote
Now that you know what a raspi remote is and why it’s awesome, let’s talk about how to set it up. The process involves a few key steps: choosing the right hardware, installing the necessary software, and configuring everything to work seamlessly.
Step 1: Choose Your Hardware
You’ll need a few essential components to get started:
- Raspberry Pi board: As mentioned earlier, the Pi 4 or 3B+ is recommended for most projects.
- Power supply: Make sure you have a high-quality power adapter that meets the Pi’s requirements.
- IR receiver/transmitter: For controlling devices that use infrared signals, like TVs and DVD players.
- Bluetooth module: If you plan to control Bluetooth-enabled devices.
- MicroSD card: To store the operating system and any additional files.
Step 2: Install the Software
Once you’ve gathered all the hardware, it’s time to install the software. Here’s what you’ll need:
- Raspbian OS: The official operating system for Raspberry Pi, offering a user-friendly interface and tons of features.
- LIRC (Linux Infrared Remote Control): A popular software package for handling IR signals.
- Bluetooth utilities: If you’re using Bluetooth, you’ll need tools like BlueZ to manage connections.
Hardware You Need
While the Raspberry Pi itself is the star of the show, you’ll need a few additional components to make your raspi remote fully functional. Here’s a breakdown of the essential hardware:
Essential Components
- Raspberry Pi board: Choose a model that fits your budget and project requirements.
- IR receiver/transmitter: Look for models compatible with your devices and the Raspberry Pi’s GPIO pins.
- Bluetooth module: Ensure it supports the latest Bluetooth standards for seamless connectivity.
- Power supply: A stable power source is crucial for consistent performance.
Optional Add-ons
- Wi-Fi dongle: If your Pi model doesn’t have built-in Wi-Fi, you’ll need one for network connectivity.
- Enclosure: Protect your setup with a durable and stylish case.
- Touchscreen display: For a more interactive experience, consider adding a small touchscreen.
Software Options
Choosing the right software is key to making your raspi remote work smoothly. Here are some popular options:
Raspbian OS
Raspbian is the go-to operating system for Raspberry Pi. It’s lightweight, easy to use, and packed with features that make it perfect for remote control projects. Plus, it comes with a ton of pre-installed tools and utilities that simplify the setup process.
LIRC (Linux Infrared Remote Control)
LIRC is an essential tool for handling IR signals. It allows your Raspberry Pi to send and receive infrared commands, enabling you to control a wide range of devices. Setting it up might seem daunting at first, but there are plenty of tutorials and guides available to help you along the way.
Bluetooth Utilities
If you’re working with Bluetooth-enabled devices, tools like BlueZ are invaluable. They allow you to pair and manage Bluetooth connections, ensuring your raspi remote can communicate with all your devices.
Connecting to Devices
Once your hardware and software are in place, it’s time to connect your raspi remote to the devices you want to control. The process varies depending on the type of device and the communication protocol used.
Infrared Devices
For IR devices like TVs and DVD players, you’ll need to configure LIRC to recognize and send the appropriate signals. This usually involves creating a configuration file that maps specific commands to IR codes. Don’t worry – there are plenty of pre-made configurations available online for popular devices.
Bluetooth Devices
Connecting to Bluetooth devices is relatively straightforward. Simply use the Bluetooth utilities to scan for nearby devices, pair them with your Raspberry Pi, and establish a connection. From there, you can send commands or data as needed.
Advanced Features
Once you’ve got the basics down, you can start exploring some advanced features to take your raspi remote to the next level. Here are a few ideas:
Custom Web Interface
Create a custom web interface that allows you to control your devices from any browser. This is especially useful if you want to access your raspi remote remotely or from a mobile device.
Voice Control
Integrate voice recognition software like Google Assistant or Amazon Alexa to control your devices with just your voice. This adds a whole new level of convenience and interactivity to your setup.
Common Issues and Troubleshooting
Like any DIY project, you might encounter a few hiccups along the way. Here are some common issues and how to fix them:
IR Signals Not Working
If your IR signals aren’t being recognized, double-check your hardware connections and ensure that the LIRC configuration file is correct. You might also need to adjust the IR receiver/transmitter’s placement for better signal reception.
Bluetooth Pairing Failures
Pairing issues can often be resolved by resetting both the Raspberry Pi and the Bluetooth device. Make sure both devices are in pairing mode and try again. If the problem persists, check for firmware updates or consult the device’s manual.
Raspi Remote Projects to Try
Now that you’re equipped with the knowledge and tools, here are a few fun projects to try:
Smart Home Automation
Use your raspi remote to control smart home devices like lights, thermostats, and security systems. You can even integrate it with platforms like Home Assistant for a fully automated experience.
Custom Entertainment System
Create a personalized entertainment system by connecting your raspi remote to your TV, sound system, and gaming consoles. With the right software, you can control everything from one central hub.
Conclusion
There you have it – everything you need to know about turning your Raspberry Pi into a raspi remote. From setting up the hardware and software to exploring advanced features and projects, this guide has covered all the bases. Remember, the possibilities are endless, so don’t be afraid to experiment and push the boundaries of what your raspi remote can do.
So, what are you waiting for? Grab your Raspberry Pi, gather your hardware, and start building the ultimate remote control. And don’t forget to share your creations with the community – who knows, you might inspire others to join the raspi remote revolution!
Until next time, happy tinkering!
- Simon Cowells Journey Embracing His Sons Disabilities
- Mary Steenburgen A Journey Through Talent And Timelessness
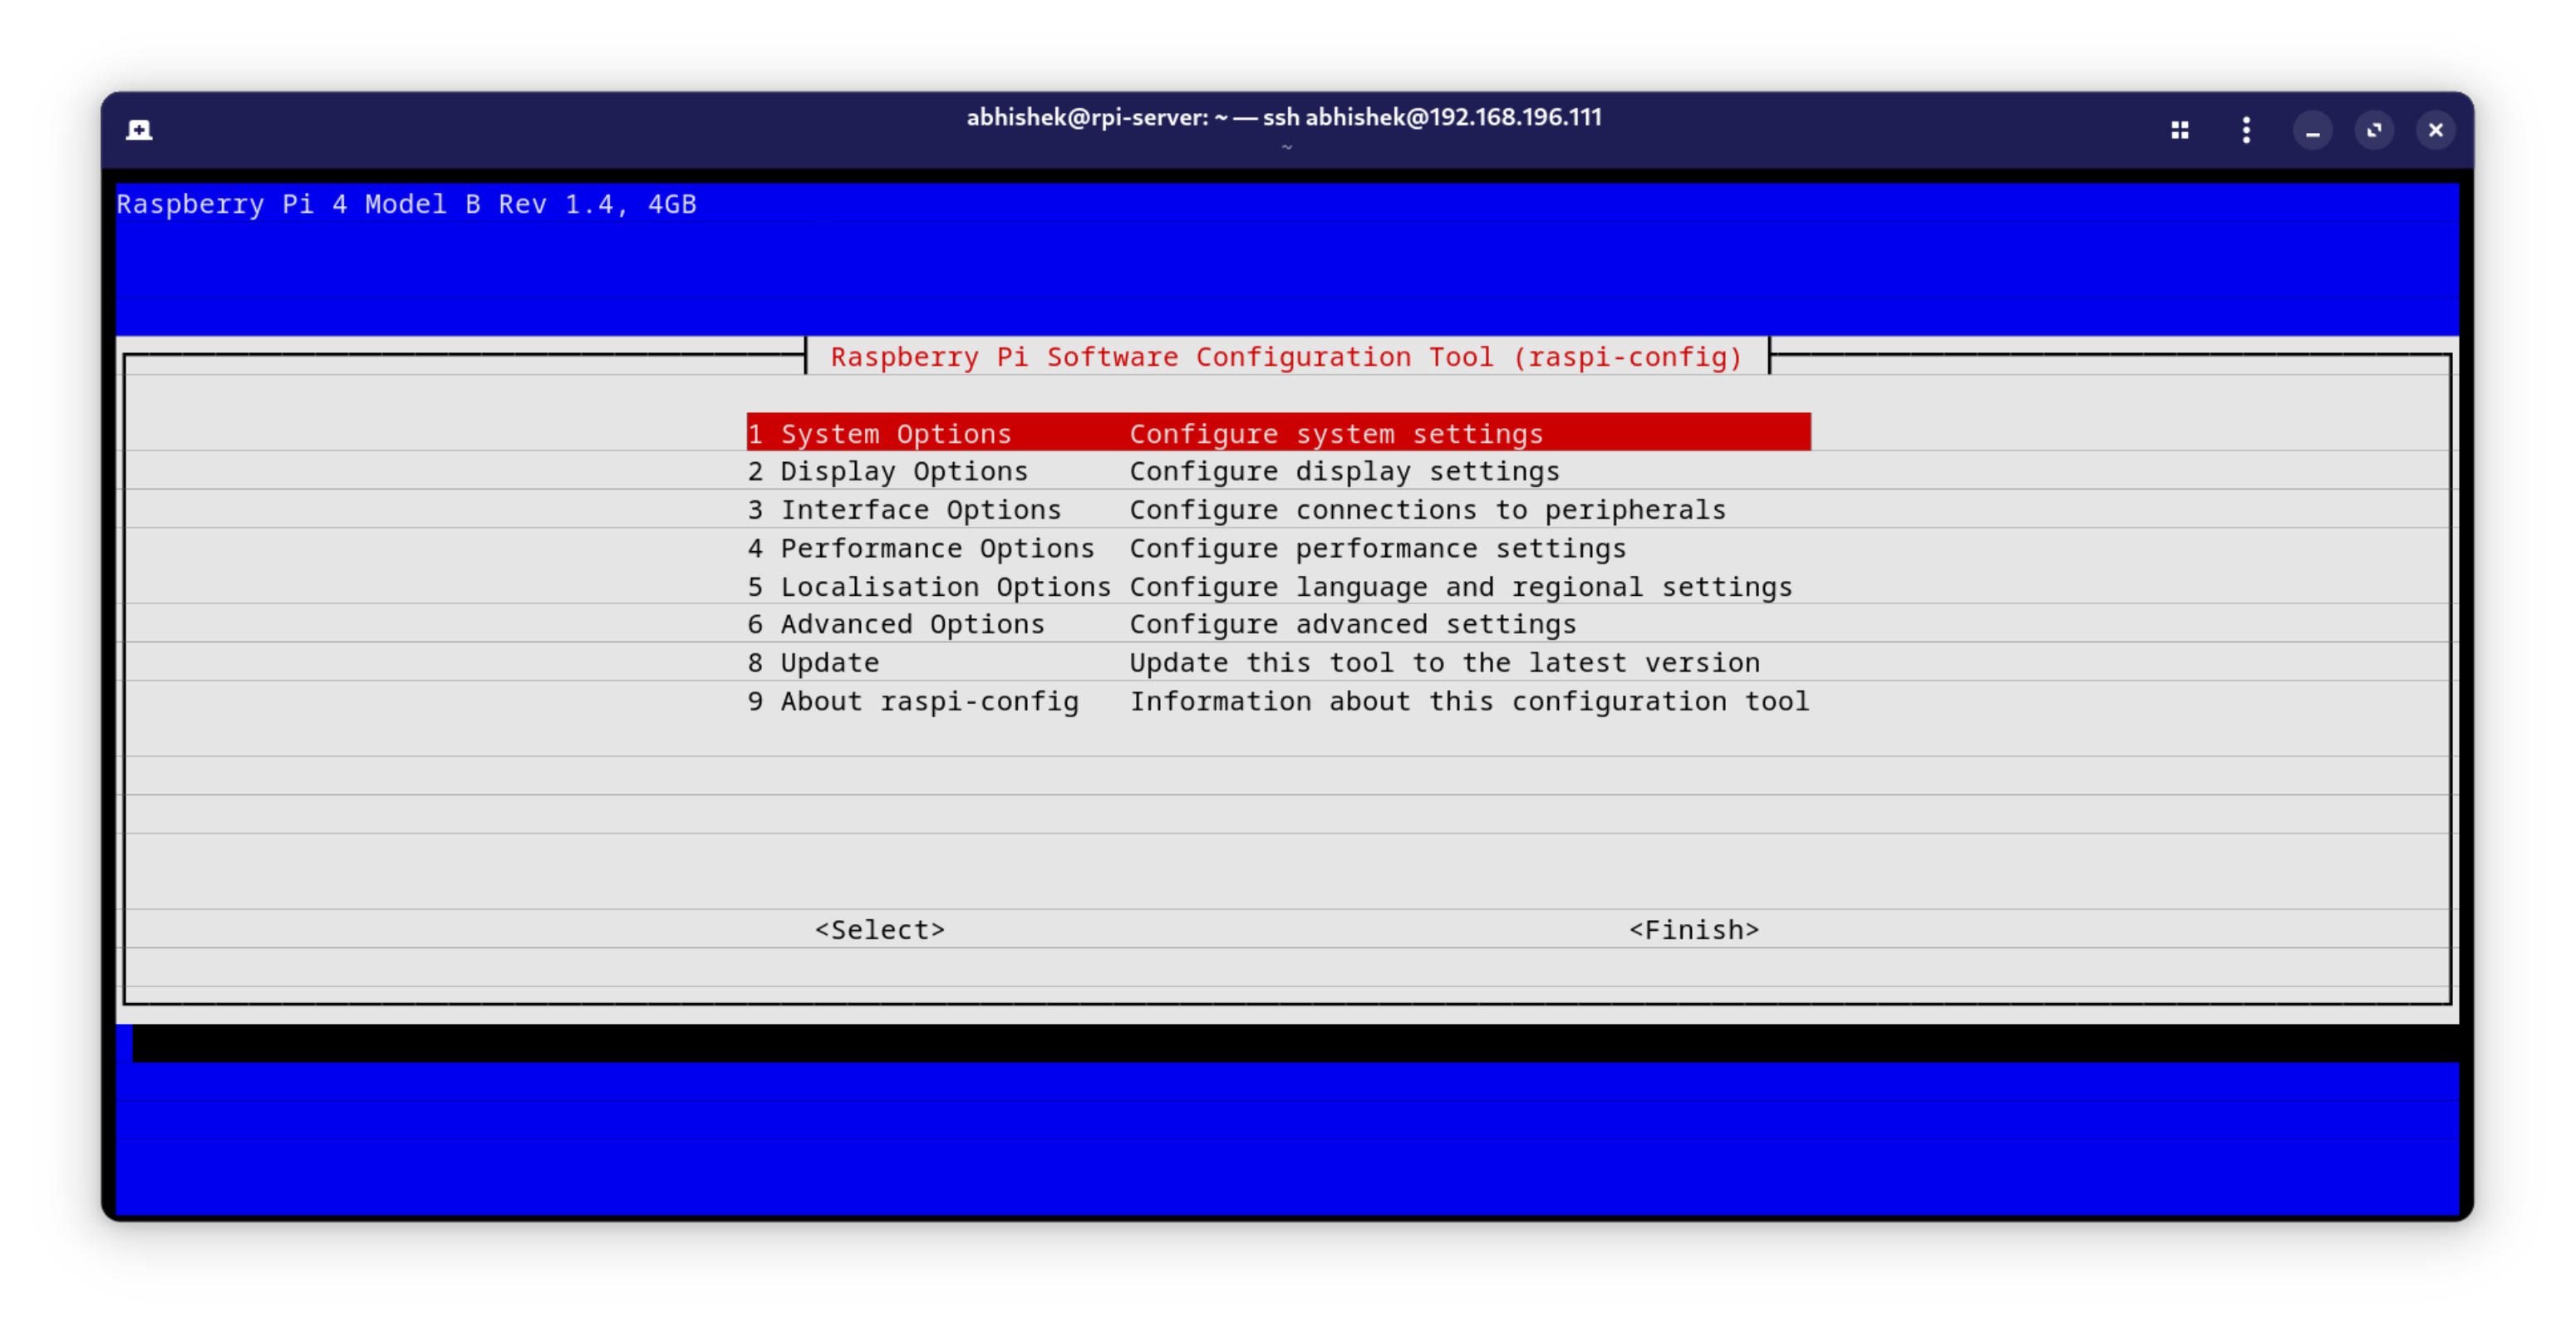
Install raspiconfig in Ubuntu on Raspberry Pi
Install raspiconfig in Ubuntu on Raspberry Pi

python Raspi as Remote Control for RC Receiver Raspberry Pi Stack
